If you plan on mounting even more than one cooking area, after that I would recommend the frame, yet an item of lumber will certainly do just fine if this is a one-time event. In either situation, you will certainly need an additional collection of hands to assist with the installation. In this situation, we purchased from.
Some individuals begin with the base closets, yet we are mostly likely, to begin with, the wall surface closets first. There is no right or incorrect way to start, I just like to begin with the top cabinets first. Use a level and also a pencil to draw a parallel line throughout the wall surface about 3 inches up from the flooring.
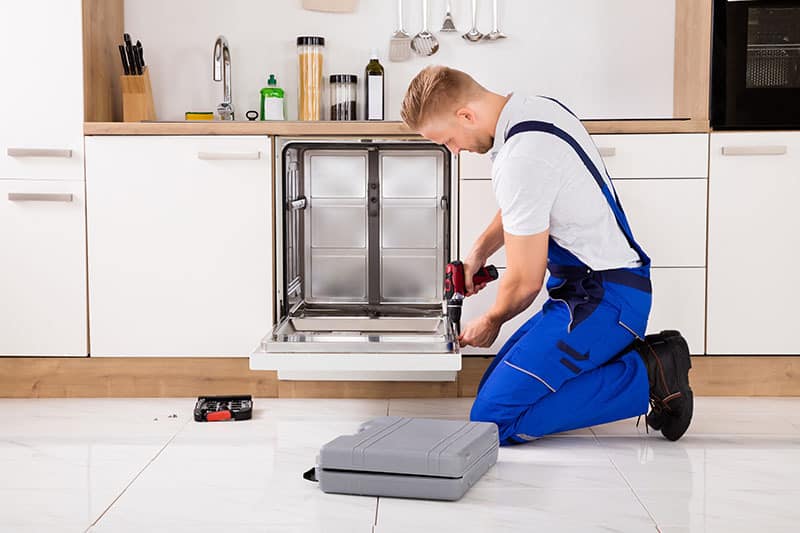
Kitchen Installation Southampton
From that peak, Action up 34 1/2 inches and also attract a degree line across the wall to designate the top of the base cupboards. Now that you have the top of the base closets significant, gauge up another 19 1/2 inches as well as a degree line across the wall surface to indicate the base of the wall cabinets.
Invite – Easy Solution For A Kitchen Installation – Saniflo
Use a stud finder to locate the wall studs. Make use of a pencil to note the stud areas at least 6 inches over and listed below the line for the bottom of the wall closets. Draw directly upright lines in between the leading and also lower marks to show the centre of the studs.
Screw a short-lived 1′ x 3′ support rail to the wall surface, straightening the leading edge of the rail with the line for the bottom side of the wall surface closets. Attach it by driving 3 or 4 two-inch screws through the rail into the wall surface studs. Since we have all the lines noted, it is time to start installing yours.
Location the edge closet onto the short-term support rail and also have your helper hold the edge cabinet in area. Drill pilot openings through the durable cupboard back or its support rail as well as right into the wall studs. Screw the closet into the wall making use of two screws that are long enough to pass through the studs by at the very least 1 1/2 inches.
Avex Kitchen Design & Installation – Ikea Kitchen …
If you have to deal with the setting, just back the screws out a little bit and top shims behind the cabinet at the stud places. If it is plumb and level, drive the screws right in and include a number of extra right into each stud to make certain that the cabinet is safeguarded snugly to the wall.
As you set up everyone, make use of the clamps to protect each closet to the surrounding closet and afterwards examine it for plumb with your level. On face frame cabinets, it is a great concept to pierce two 1/8 inch pilot openings via the sides of the face frame and also use screws. In this situation, with frameless, we are mosting likely to screw thru the plywood sides and utilize shims in between the closets to guarantee a limited fit and also see to it that the cupboard faces are plumb.
Usage shims were required to level the cupboard as well as increase it as much as the line which suggests the peak of the flooring. Be sure it is a degree from front to back as well as from side to side, then screw it to the wall surface studs. If you do not have a diagonal edge cabinet or blind base cupboard in the edge, push the adjoining closet into the area and also secure the 2 systems with each other.
Coyote Outdoor Kitchen Installation – Coyote Outdoor Living
If required, faucet shims under the closet and also beyond it to adjust for plumb and degree. Drive screws through the cupboard back (as well as shims) right into the wall studs. Cut any kind of excess material from the shims with a sharp carve or blade. Remain to include adjoining closets in this way, joining them similarly you linked the wall surface closets symphonious 6.
If you have customized closets, they ought to have been built to fill this gap, but if you are using supply or the filler strip may be needed. If you do need to use a filler strip, leave the last closet removed from the various other cupboards. Secure a straightedge to the face of the closest setup unit, expanding much enough for you to place placement marks on the end wall surface.
After that setup and fasten the last cabinet and also measure the void in between its face structure as well as the wall. If the wall surface is flat, merely rip the filler board to the required width as well as fasten it in area. If the wall is uneven, you’ll need to scribe-fit the filler board. Beginning by setting a marking compass to the size of the gap, after that place a strip of 1″- large masking tape along with the filler board in the location where it needs to be cut.